Coursera machine learning exercise 4 predicting your handwriting
I’ve been studying Andrew Ng’s machine learning course on Coursera for a while now. I’ve just finished 4th week assignment which is about training multiclass classifiers and using already trained neural networks to predict handwritten digits.
The classifiers are trained on 5000 20x20 grayscale images.
After I’ve completed the assignment, I was wondering whether I could predict my own handwriting using the trained classifiers.
How to predict your own handwriting?
To predict your own handwriting successfully, you should make sure you follow these two guidelines below that I’ve figured out by trial and error and also asking on discussion forum:
- The size of the digit in the image should not be too big or too small.
- The background pixels should be a consistent shade of gray for almost every pixel or should be as consistent as possible, not to mention that the digit pixels should be white :).
How do I make my background a shade of gray and the digit white?
Of course, it is difficult to find a gray paper and a white pen to ensure the guideline above. Instead we will use a light colored paper (I’ve used a yellow post-it) and a black or blue pen, then we will map our pixel values between 0 and 1 (considering the quoted tip below) after converting our image to grayscale in MATLAB which will result in the background being gray and the digit being white.
I will explain this mapping process in detail in this post as well.
The image pixels are scaled (or normalized) so that -1.0 is black, 0.0 is grey, and +1.0 is white. However, nearly all of the pixels are in the 0.0 to +1.0 range. The backgrounds are grey, and the image “pen strokes” are white.1
Predicting your own handwriting
After you write down a digit on a paper, take a photo of it and upload it to your computer, you will first read the image in MATLAB. I will use the image below for predicting my handwriting and then, at the end of this post, I will share a few more images of different digits that I’ve successfully predicted so you can try to predict them on your own, if you would like to, or just try your own handwriting since that’s what this post is about, haha.
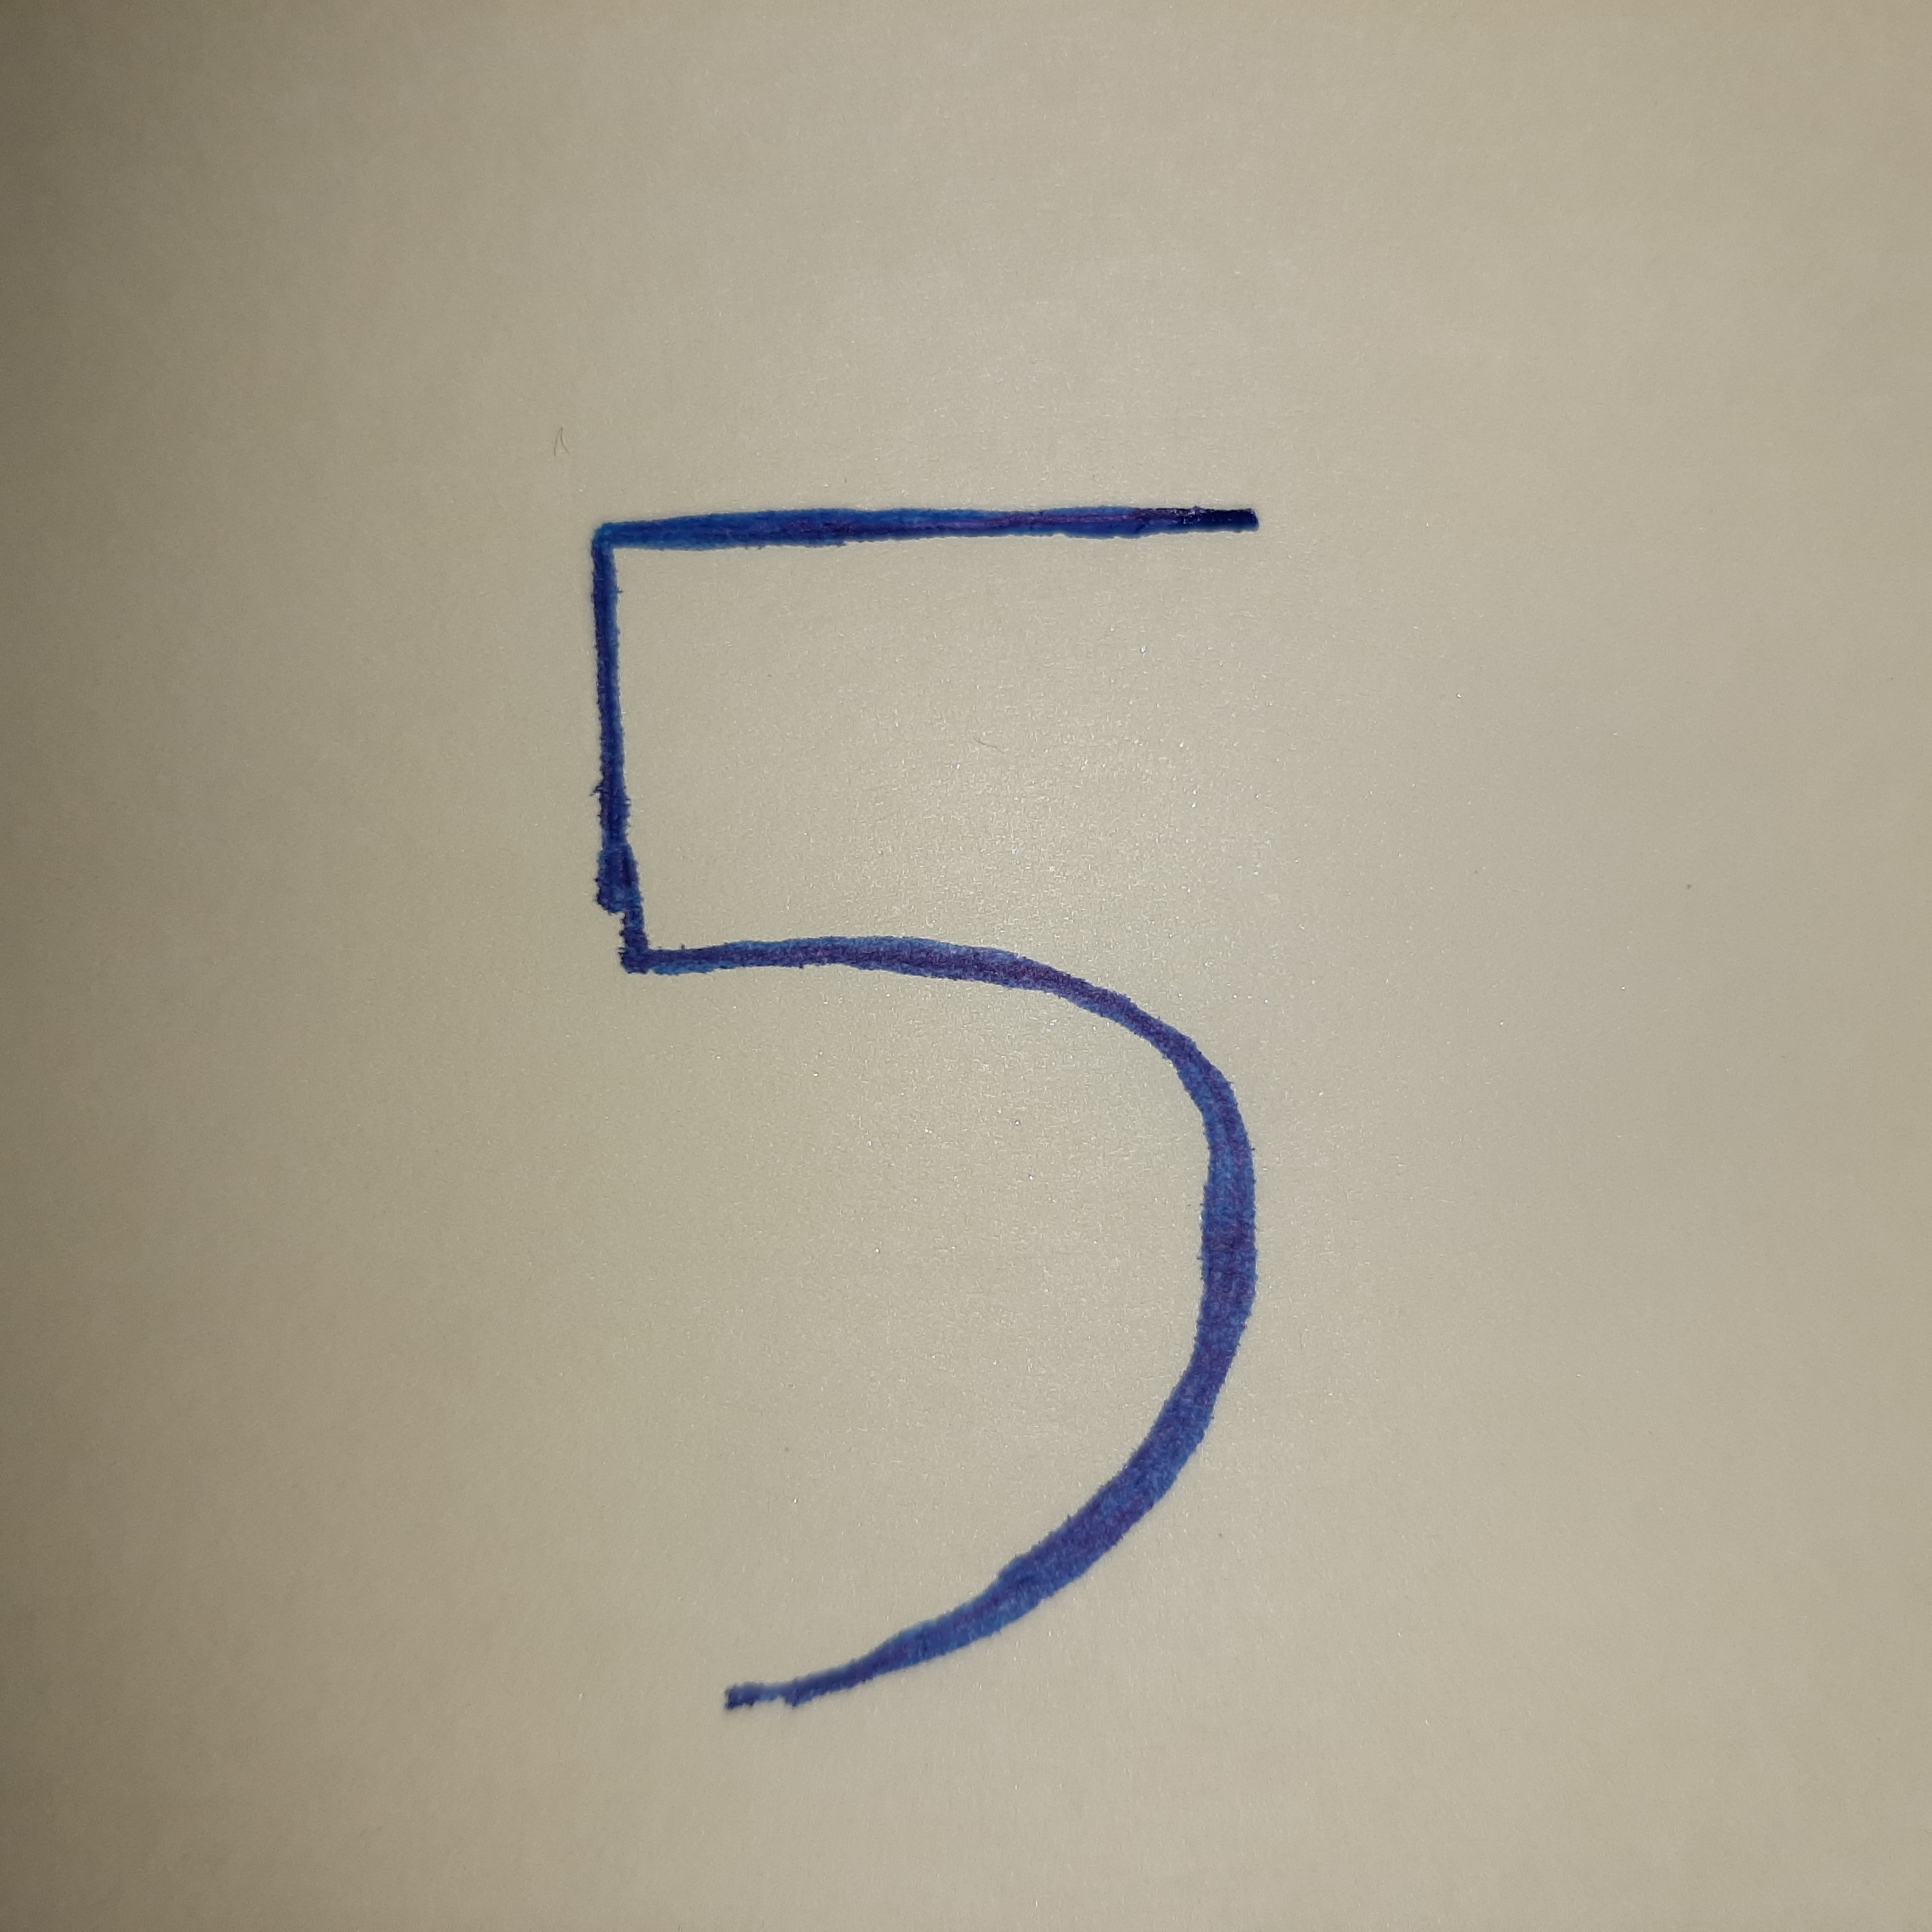
% Reading the image
img = imread('/path/to/digit_five.jpg');
% Converting RGB img to grayscale
img = rgb2gray(img);
% Resizing it to be 20x20
img = imresize(img, [20, 20]);
% Display img
imshow(img)
Now you should see your 20x20 grayscale image, or maybe you can’t because it is too small, haha. You can display before resizing anyway.
But there is a problem
In the image, our background color is close to white and the digit is black contrary to images in the dataset, also our pixel values are between 0 and 255 whereas pixel values of images in the dataset are between 0 and 1 roughly (-0.1320 and 1.1277 actually).
This is where we should map our pixel values to comply with the images in the dataset.
To better visualize the problem that I’ve explained above take a look at the image below where I’ve compared the image of my handwriting and a random image from the dataset.
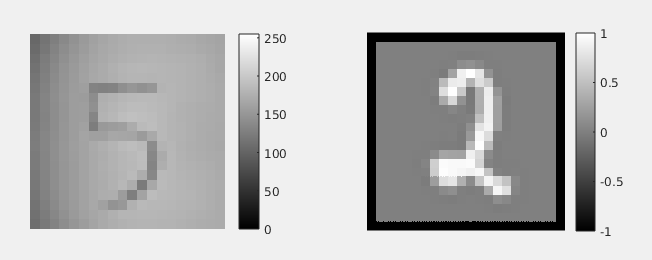
As you can see from the image, we need to map our pixel values between 0 and 1 so that our image will comply with pixel values of images in the dataset which are all between 0 and 1 roughly.
Moreover we need to cross map our pixel values (I’ve just made up this term, just please correct me in the comments) meaning that we need to map a pixel value of 0 from our own image to 1 so that our black pixels will turn white and we should map a pixel value of 255 to 0 so that our white pixels will turn gray, in other words, this process will turn our digit white and our background gray which is exactly what we want to achieve.
Finally! The mapping part
If your number X falls between A and B, and you would like Y to fall between C and D, you can apply the following linear transform:2
Y = (X-A)/(B-A) * (D-C) + C
which is the same as :
new_value = (old_value - old_bottom) / (old_top - old_bottom) * (new_top - new_bottom) + new_bottom;
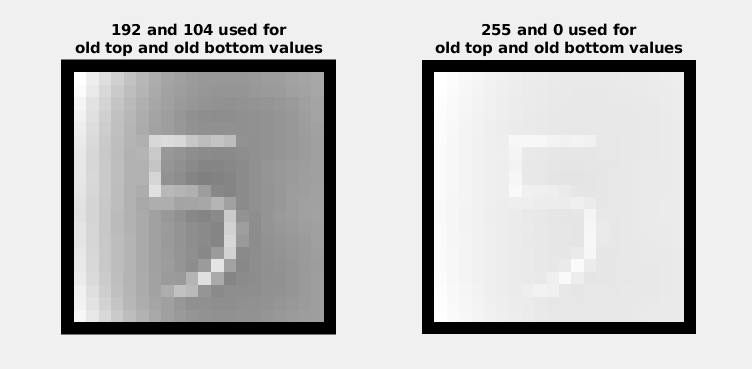
Using the formula above we will map all our pixels. Instead of using 255 and 0 as the old_top and old_bottom, I’ve assumed the minimum value in my image matrix to be my old_bottom and maximum to be my old_top.
absolute_max = max(img(:)); % 192 which is B in the formula or old_top
absolute_min = min(img(:)); % 104 which is A in the formula or old_bottom
In other words, I’ve assumed the minimum pixel value in my image to be black and the maximum pixel value to be white because this way I can map my pixel values to get my digit white and the background gray. Take a look at the image below to see the difference.
Our new_top will be 0 and new_bottom will be 1 as we want our white color to turn gray and gray to turn white.
% Mapping pixel values
new_top = 0;
new_bottom = 1;
% Before mapping, we need to cast our img to double to get precision
% because now it is of type uint8 which will not give us any precision
% which might cause all our pixel values being 1s or 0s
% when we divide our img matrix
img = double(img);
mapped_img = (img - absolute_min) / (absolute_max - absolute_min) * (new_top - new_bottom) + new_bottom;
After this mapping process, we can finally use displayData function to display our image.
displayData(mapped_img(:)');
Which will display the image below.

We can now try to predict our handwriting using predictOneVsAll with already trained classifiers all_theta.
predictOneVsAll(all_theta, mapped_img(:)')
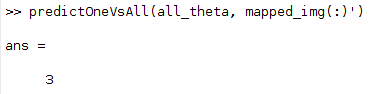
Oops! Something went wrong.
Well, actually nothing went wrong for this particular image. As I’ve mentioned at the beginning of my post. This prediction relies on the background color and its consistency through background pixels, so if you are trying your own handwriting you might not have gotten the background color right, but this might not be the only reason.
What should I do then?
After I’ve tried to predict all the digits in different sizes and colors on post-its without fiddling with the pixel values. I’ve decided to fiddle with the pixel values to see whether I can get the background color right and predict the digit successfully.
I’ve come up with the function below which maps the pixel values in the image matrix (so you don’t need to map pixel values manually) and increments all pixel values gradually trying to predict the digit with the incremented pixel values. This way we are trying to get the background color right so that we can predict the digit successfully. Once it predicts the digit right, the function returns the number that has been added to mapped pixel values which helped us predict the digit correctly, otherwise -1 is returned.
% This function tries to find the right value which makes the
% background color the closest to the one in the dataset images
% so that our "predictOneVsAll" function can predict our handwriting correctly.
% If predicted correctly with the number by which the pixel values are incremented,
% the number returned. -1 otherwise.

% img: 20x20 grayscale image cast to double().
% all_theta: theta values for classifiers from the exercise
% y: the actual value that is to be predicted in the image, in this case it is 5.

function p = findRightBgColor(img, all_theta, y)
  % Get max value from the image matrix
  max_value = max(img(:));
  % Get min value from the image matrix
  min_value = min(img(:));
  % Set p -1 in case we can't predict the digit successfully so the function returns -1
  p = -1;
  % Map pixel values between 0 and 1
  mapped_img = (img - min_value) / (max_value - min_value) * (-1) + 1;
  % Increment the mapped image matrix
  % by adding all the values from -0.9 to 1 with a step size of 0.01
  for i = -0.9:0.01:1
    % Increment by i
    temp = mapped_img + i;
    % Try to predict the new image matrix with incremented pixel values
    prediction = predictOneVsAll(all_theta, temp(:)');
    % If predicted successfully
    if prediction == y
      % Set p to the number that has been added to all pixel values
      p = i;
      break;
    end
  end
end
So let’s see whether we can get the background color right using this function.
% Read the image
img = imread('/path/to/digit_five.jpg');
% Convert RGB to grayscale
img = rgb2gray(img);
% Resize the image to be 20x20
img = imresize(img, [20, 20])
% Convert the image matrix from uint8 to double
% so that we can get precision when we map
% or when we divide our pixel values.
img = double(img);
% Calling our function to find the right background color.
findRightBgColor(img, all_theta, 5)
Which returns:
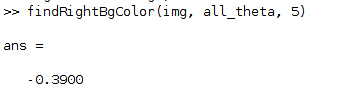
-0.3900 means that we need to sum all our pixel values in our img matrix with -0.3900 so that we will get the right background color for prediction.
Finally predicting!
% Read the image
img = imread('/path/to/digit_five.jpg');
% Convert RGB to grayscale
img = rgb2gray(img);
% Resize the image to be 20x20
img = imresize(img, [20, 20])
% Convert the image matrix from uint8 to double
% so that we can get precision when we map
% or when we divide our pixel values.
img = double(img);
% Get min and max values for mapping
min_val = min(img(:));
max_val = max(img(:));
% Map pixel values
mapped_img = (img - min_val) / (max_val - min_val) * (0 - 1) + 1;
% Add -0.3900 to all pixel values
incr_mapped_img = mapped_img + (-0.3900)
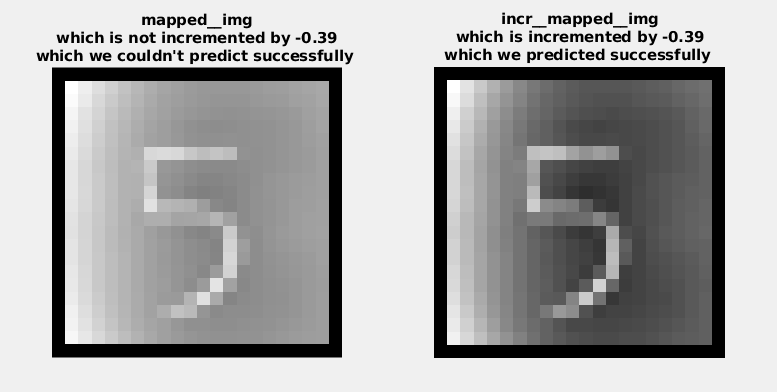
% Display mapped_img and incremented_mapped_img
% side by side so you can see the difference in backgrounds
figure;
% Divide the figure into 1x2 grid and select the first one.
subplot(1,2,1);
% Display mapped_img on the first grid
displayData(mapped_img(:)');
% Set the title of mapped_img
title({'mapped__img', 'which is not incremented by -0.39', 'which we couldn''t predict successfully '})
% Select the second grid
subplot(1,2,2);
% Display incr_mapped_img on the second grid
displayData(incr_mapped_img(:)');
% Set the title of incr_mapped_img
title({'incr__mapped__img', 'which is incremented by -0.39', 'which we predicted successfully '})
% Now you can see two different images
% side by side for comparison of their backgrounds.
% I've also added a screenshot of these two images below.
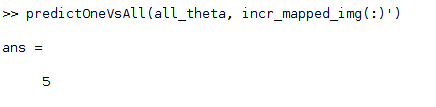
Now that we’ve done everything let’s try to predict the digit in our incr_mapped_img
predictOneVsAll(all_theta, incr_mapped_img)
Which will return:
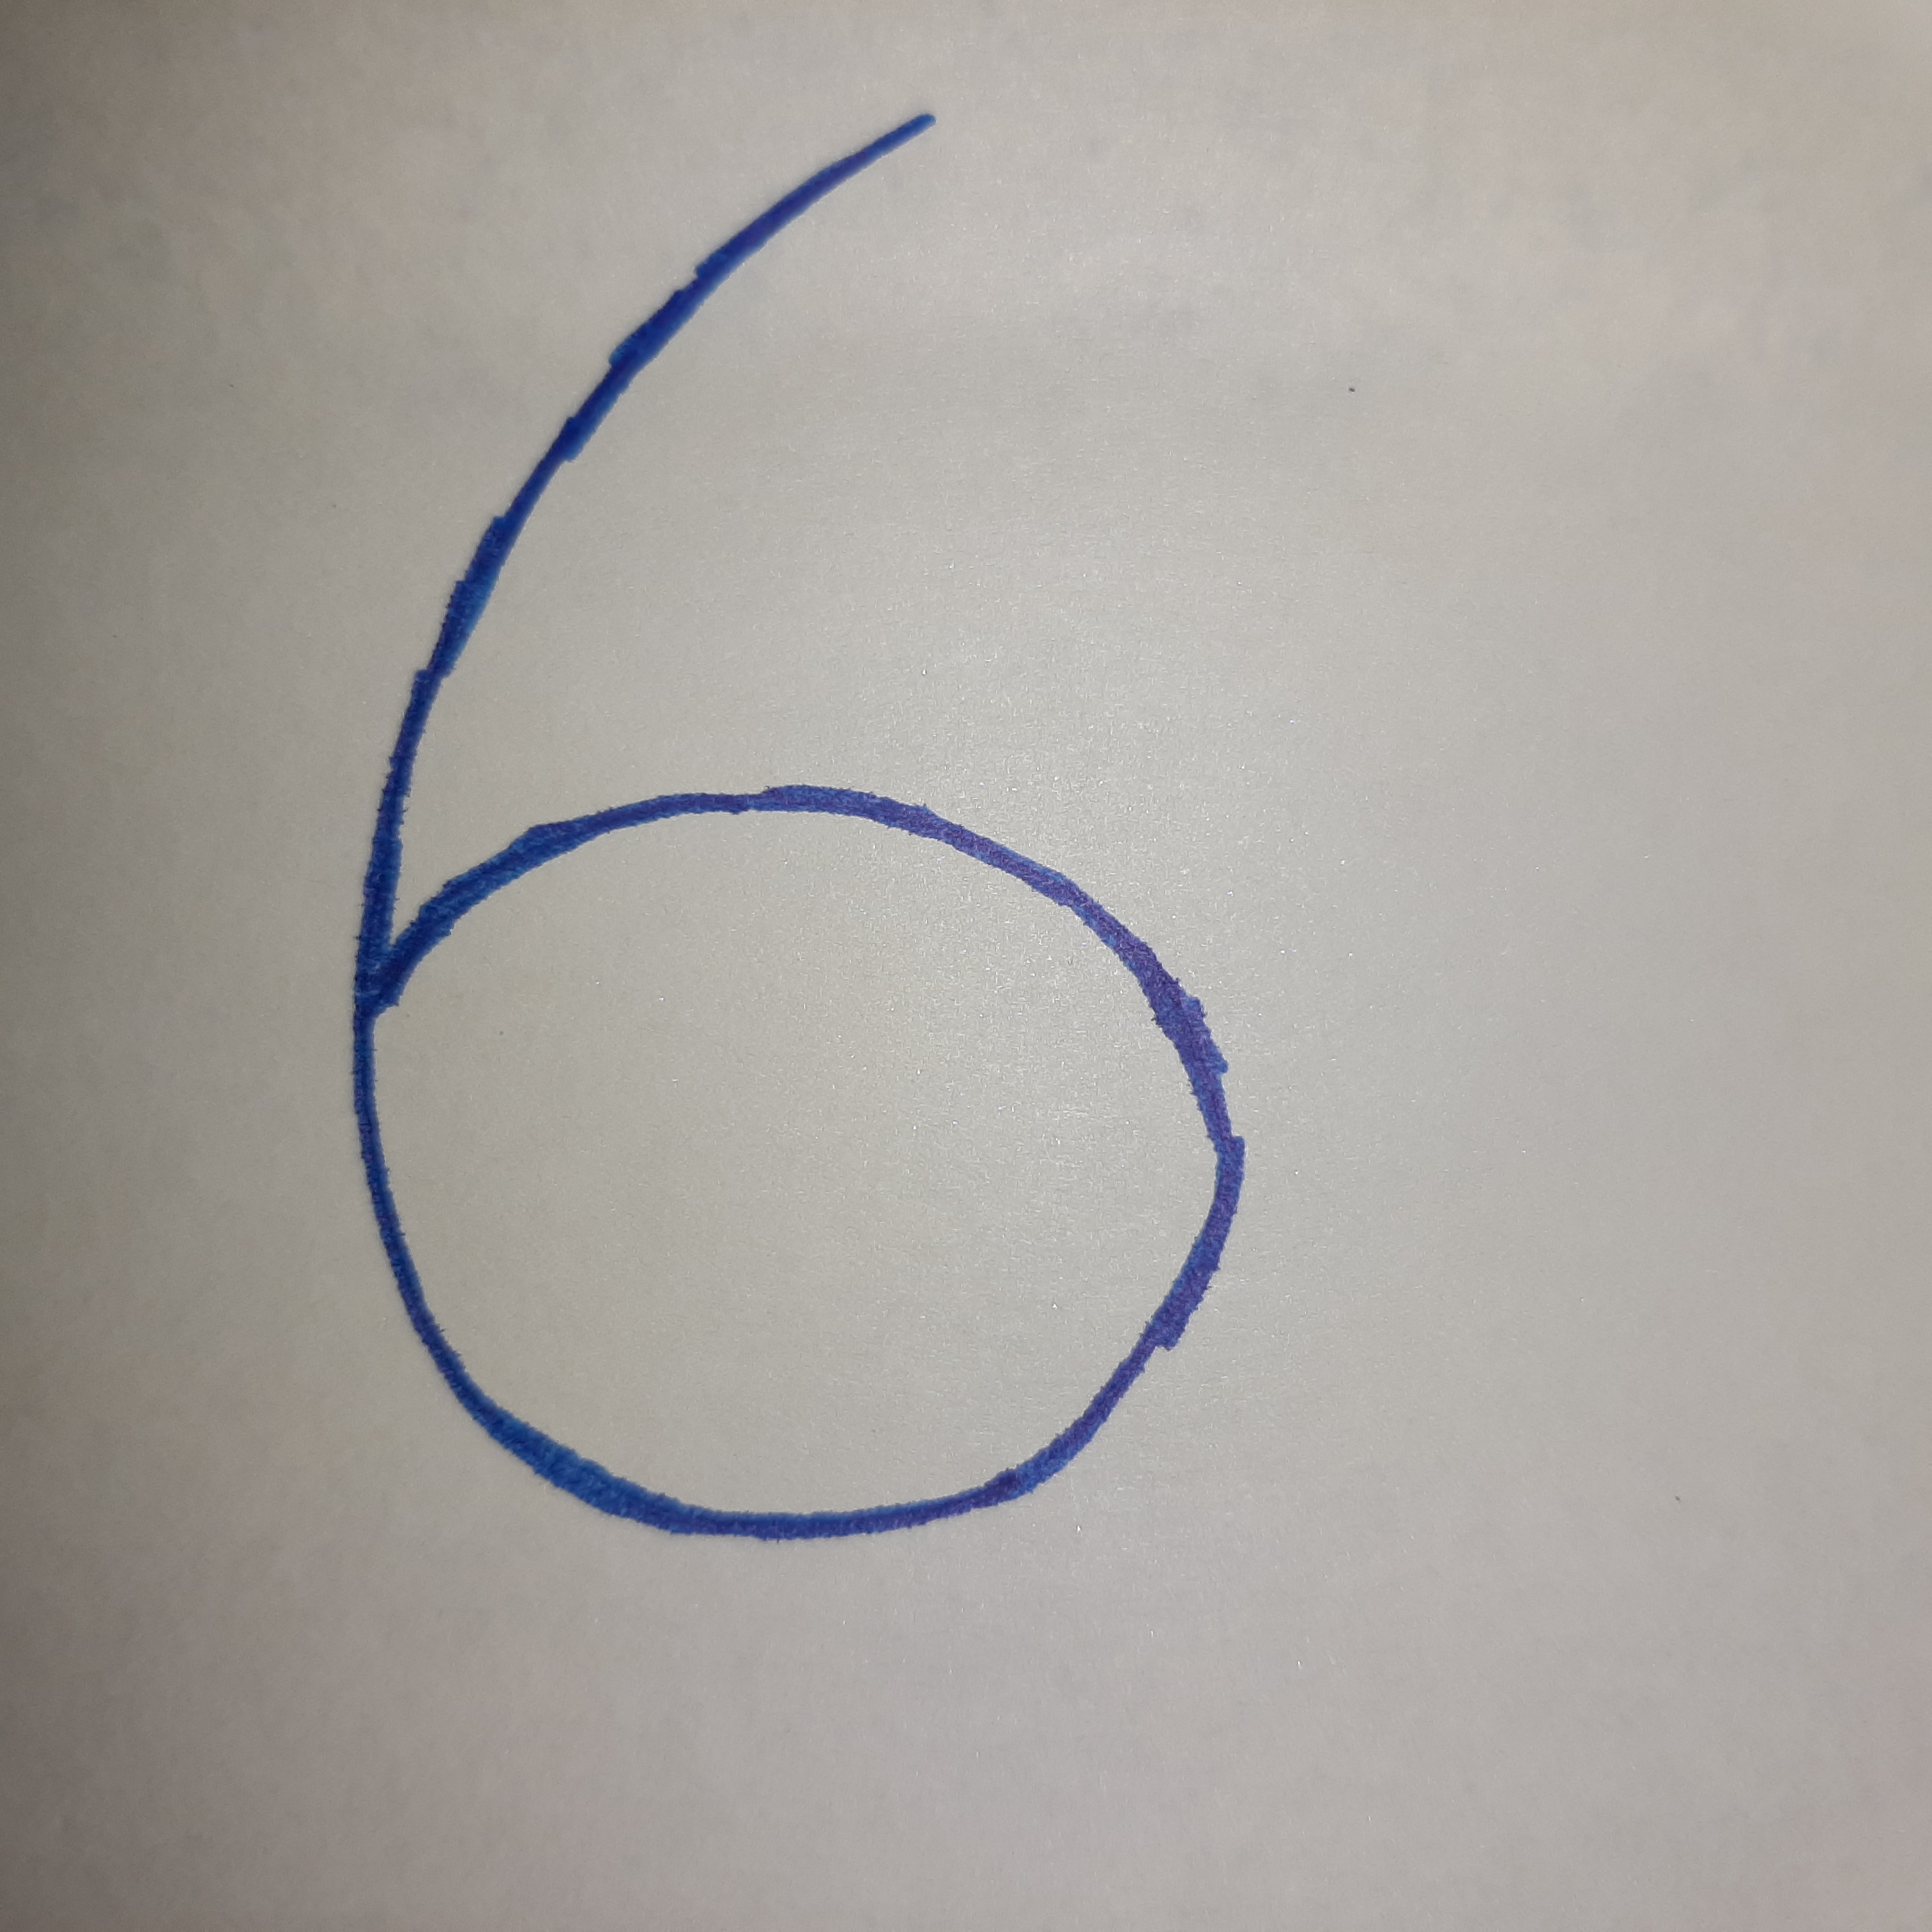
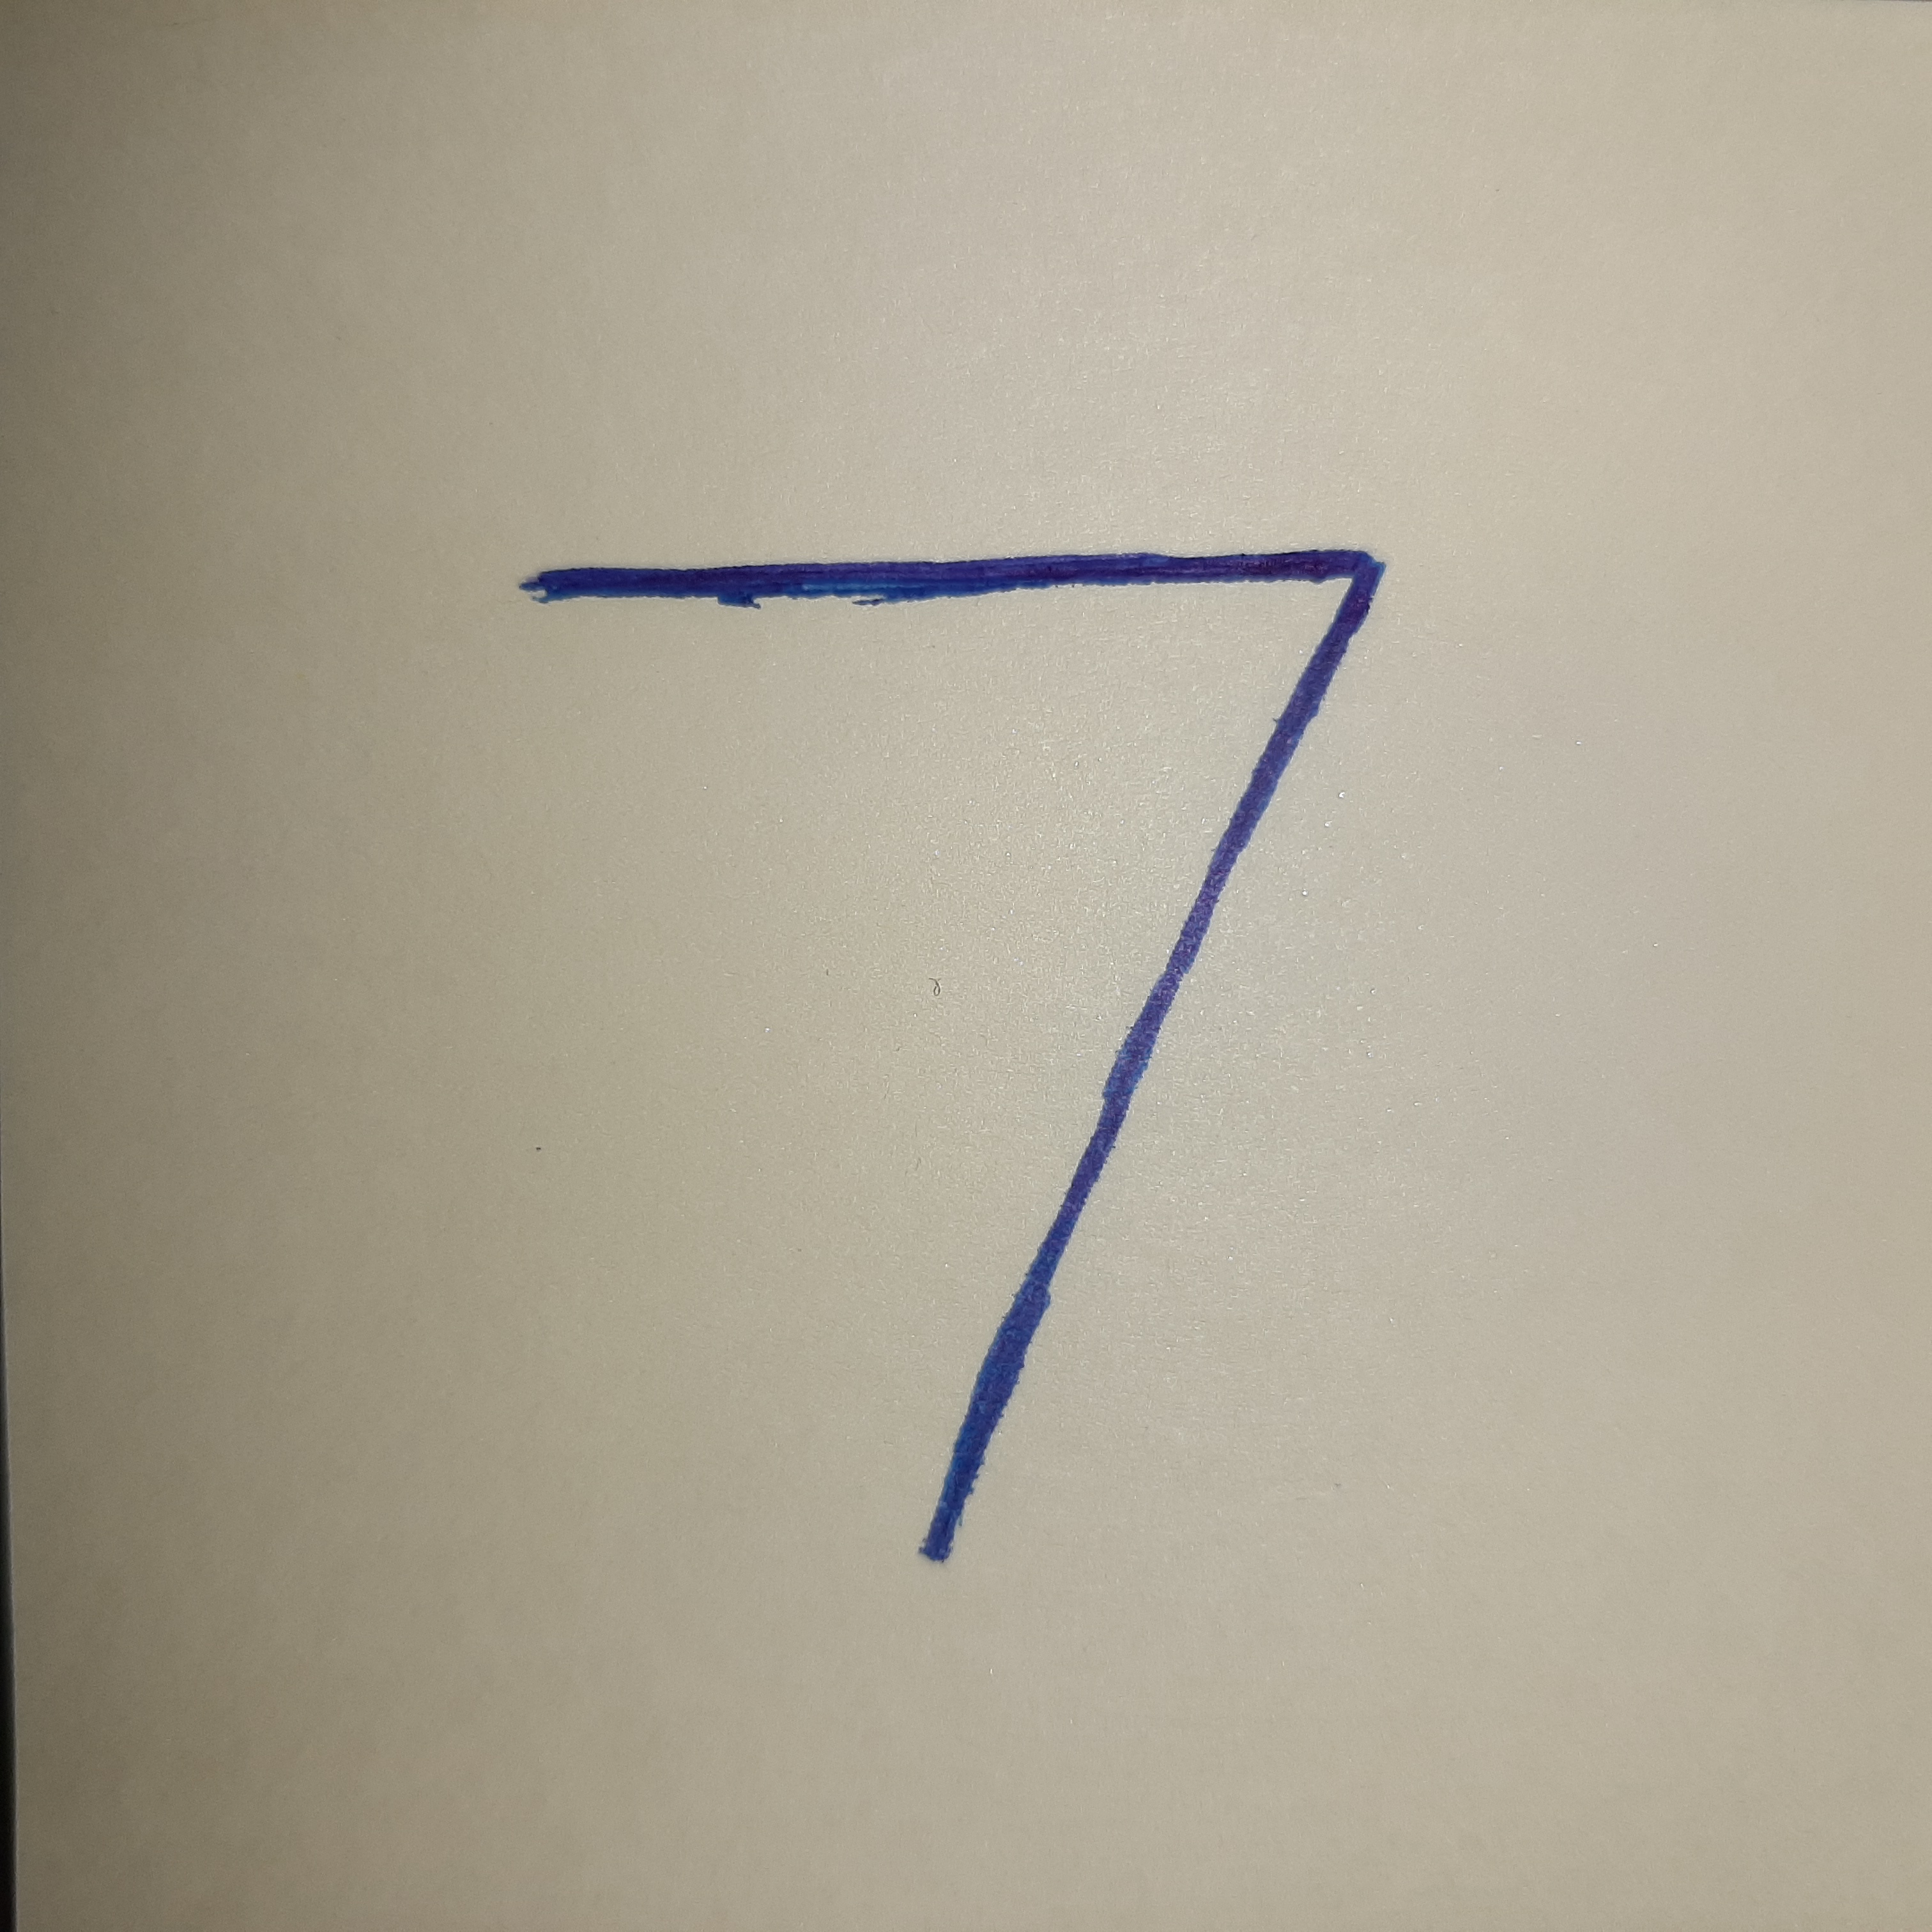
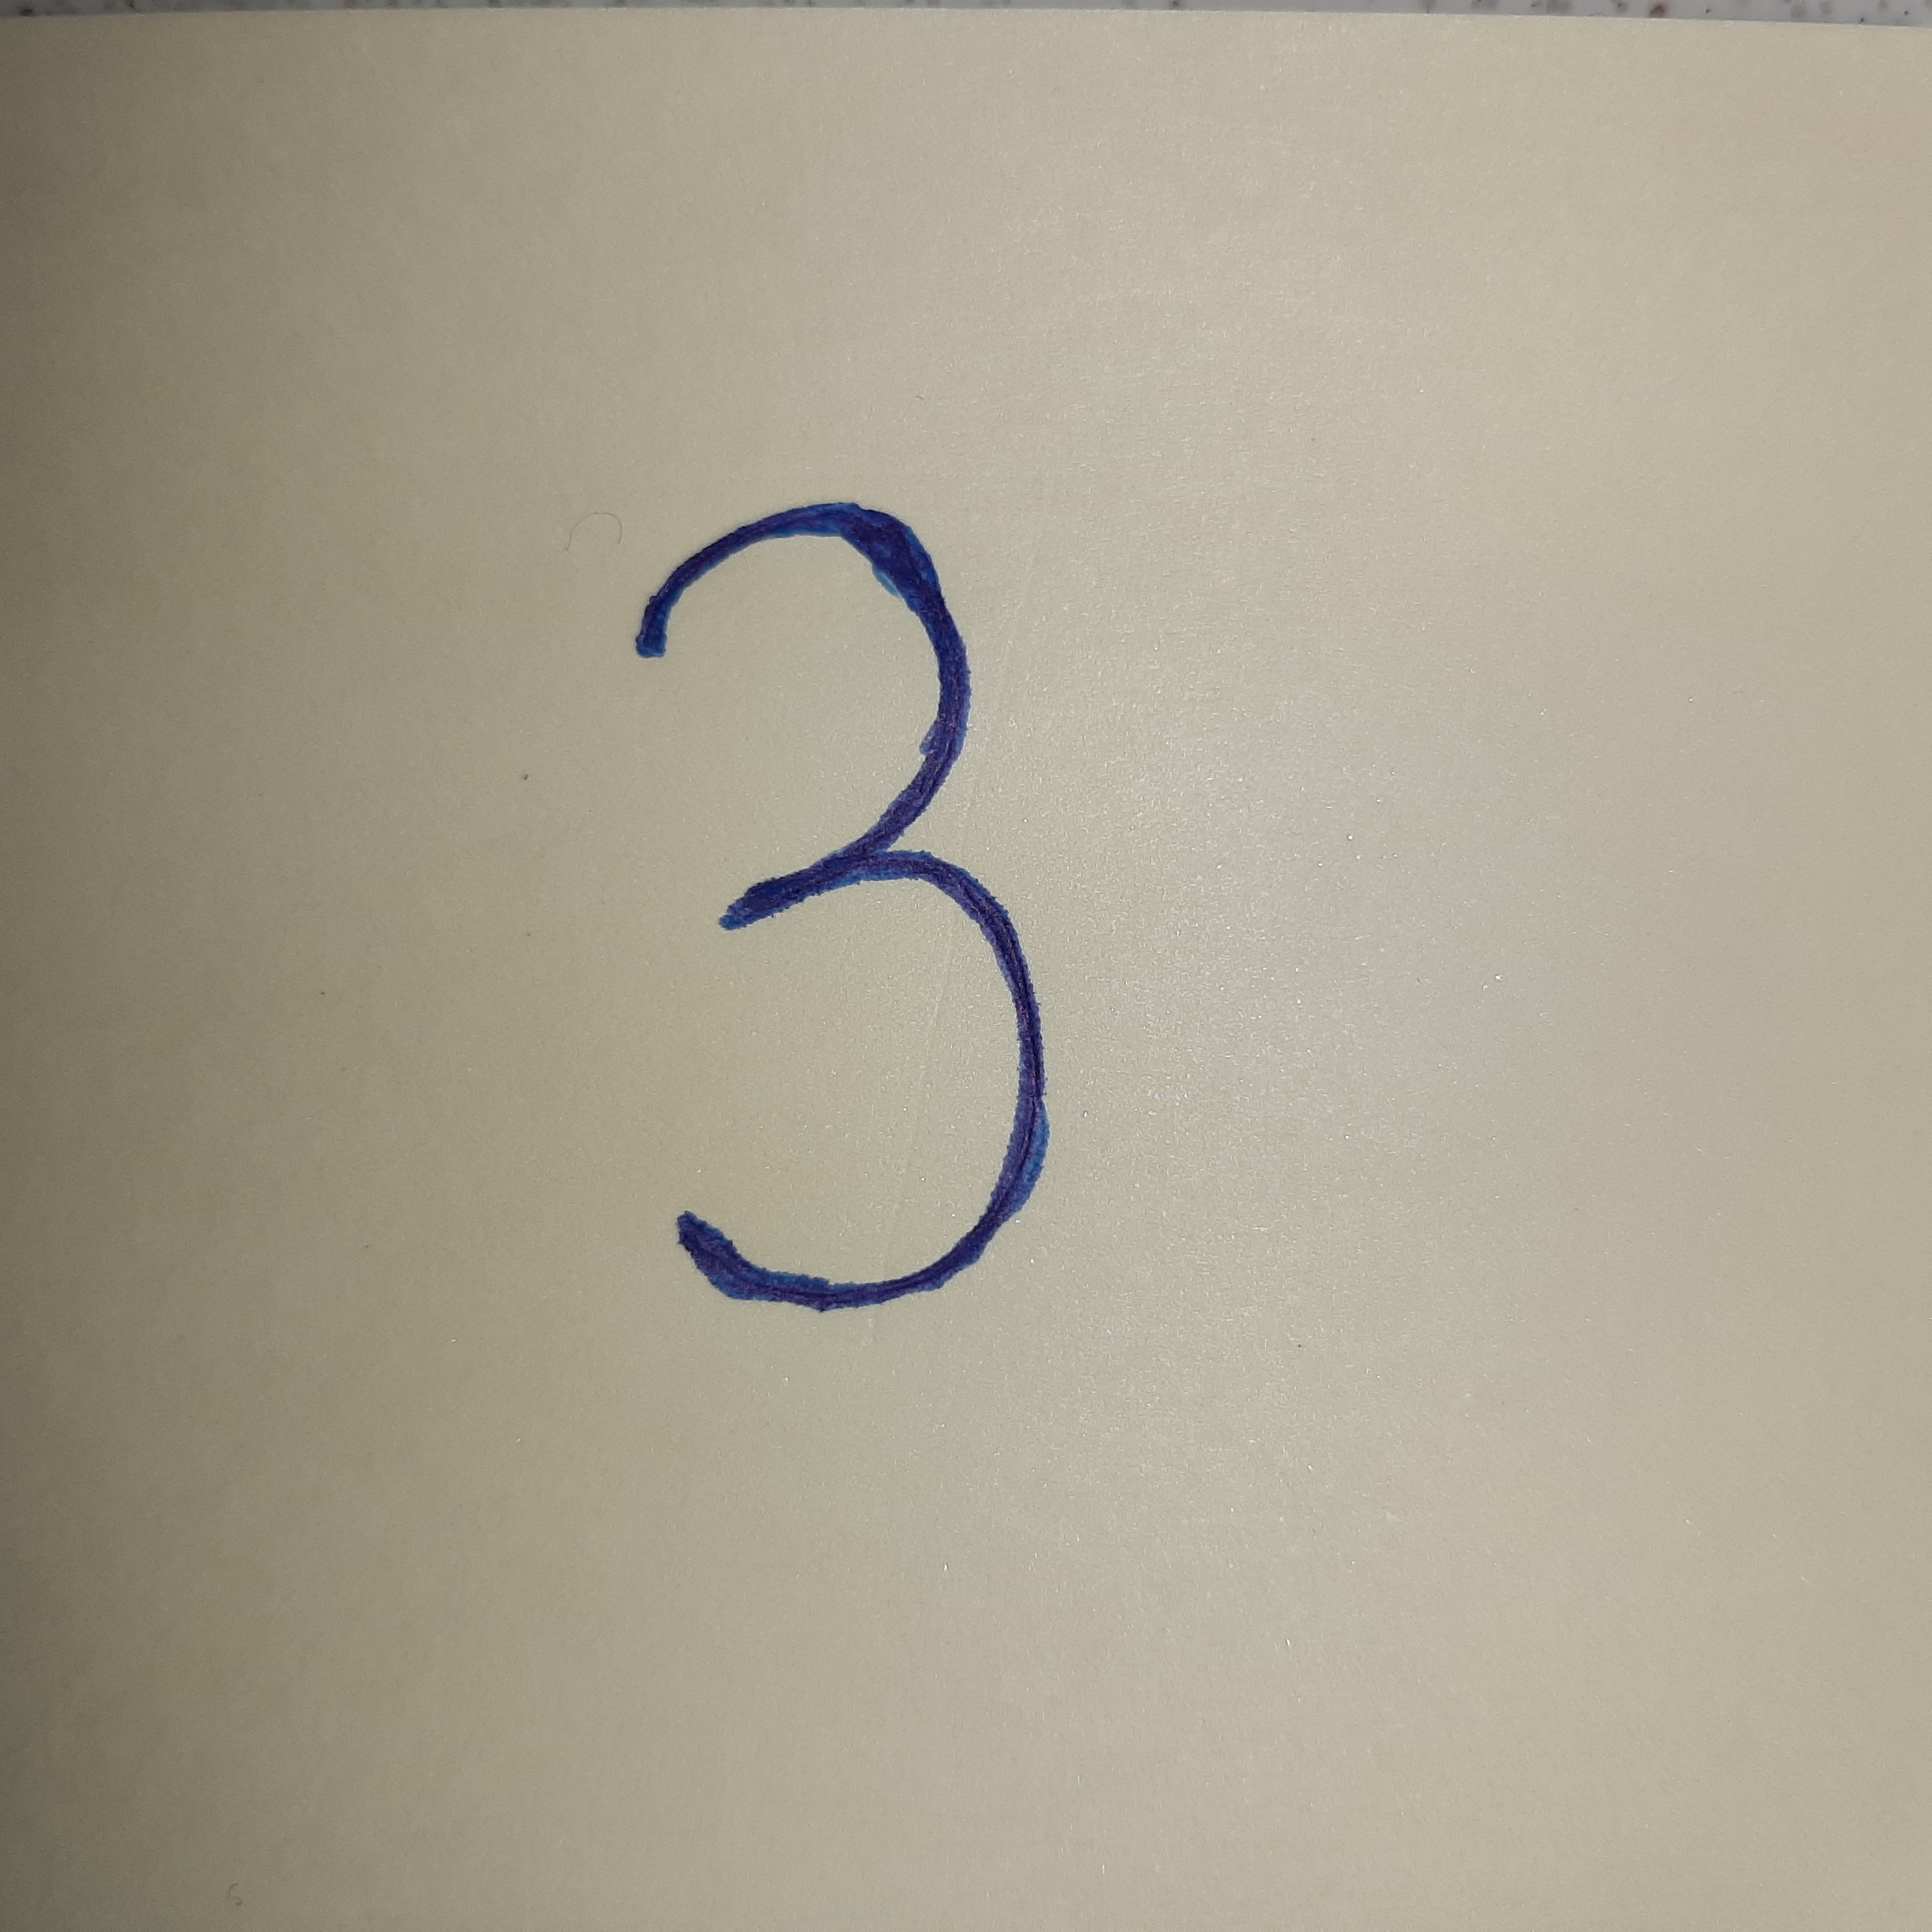
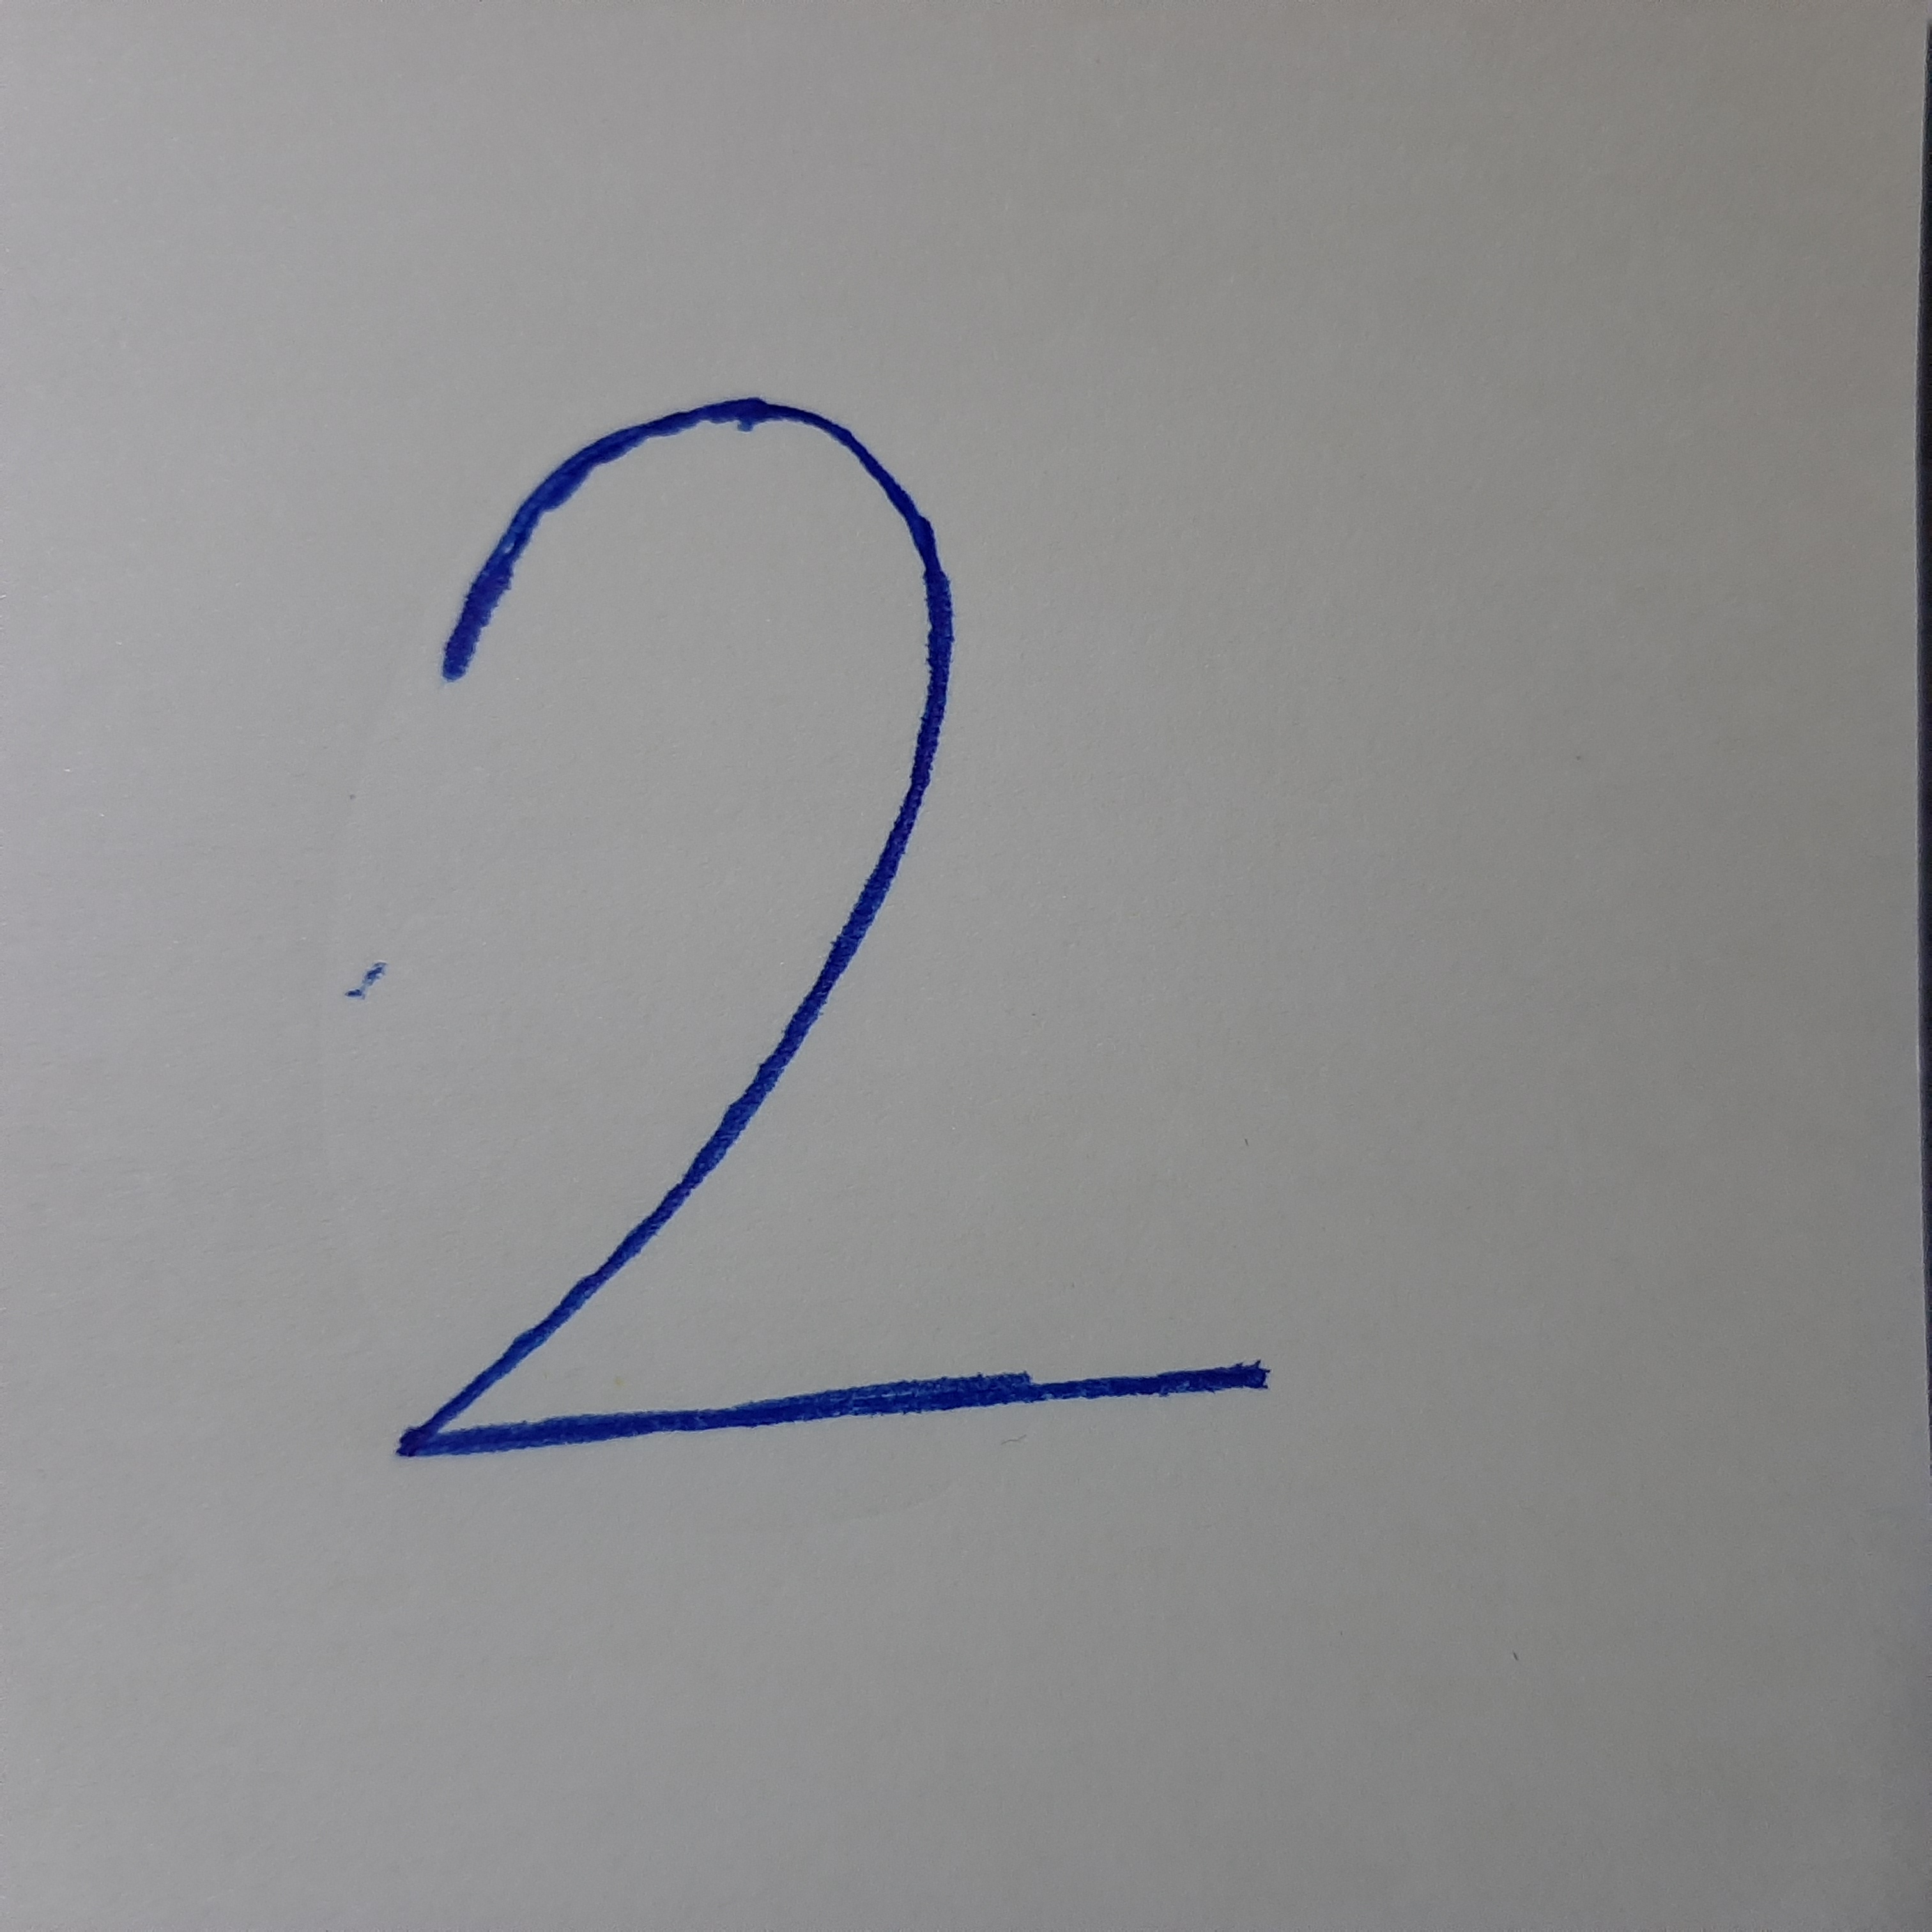
Other handwritten digits
In case you want to test, here are some other handwritten digits by me that I could successfully predict using the technique above.
References
-
Tips for classifying your own images - ML:Programming Exercise 4:Neural Networks Learning ↩
-
Mapping numbers - Stack Overflow ↩